An expense tracker is a simple yet powerful tool that allows you to:
✔ Monitor spending habits – Understand where your money is going.
✔ Set and stick to a budget – Prevent overspending.
✔ Identify unnecessary expenses – Cut down on unnecessary costs.
✔ Achieve financial goals faster – Whether it’s saving for a car, vacation, or retirement.
Now, let’s walk through how to use an expense tracker sheet step by step.
Step 1: Choose the Right Expense Tracker Format
Before tracking expenses, decide which format suits your needs:
📌 Excel/Google Sheets Tracker – Ideal for those who prefer digital tracking with automatic calculations.
📌 Printable Expense Tracker – Great for those who prefer writing down expenses manually.
📌 Notebook or Ledger – A traditional method for financial tracking.
For this guide, we will focus on using an Excel or Google Sheets expense tracker since it’s one of the easiest and most effective ways to track expenses.
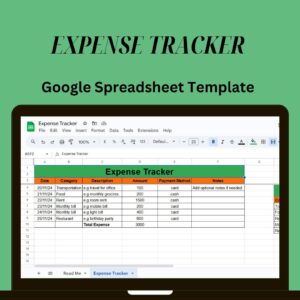
Step 2: Set Up Your Expense Tracker Sheet
To get started, open Excel or Google Sheets and create a new spreadsheet.
1️⃣ Create Column Headings
Label the first row with these column headings:
Date Expense Category Description Payment Method Amount Spent Balance
2️⃣ Use Data Validation for Categories
To maintain consistency, create a dropdown list for expense categories like:
✔ Groceries
✔ Rent/Mortgage
✔ Utilities
✔ Transportation
✔ Entertainment
✔ Dining Out
✔ Healthcare
✔ Miscellaneous
📌 How to Create a Dropdown List in Excel:
Select the column under “Expense Category.”
Click Data > Data Validation > List and enter your categories.
💡 Pro Tip: This step prevents errors and helps categorize expenses efficiently.
Step 3: Input Your Income and Expenses
Now, start adding transactions to your expense tracker sheet.
1️⃣ Enter Income Sources
Record all income sources (salary, freelance earnings, side gigs, etc.).
Input them in a separate income column.
2️⃣ Track Daily Expenses
Each time you make a purchase, record the date, amount, and category.
If using cash, debit, or credit, note the payment method.
📌 Formula to Calculate Total Expenses:
excel
Copy
Edit
=SUM(E2:E100) # Sums all expenses in column E
Step 4: Automate Expense Tracking with Formulas
To make your expense tracker more efficient, use formulas to calculate totals and balances automatically.
1️⃣ Calculate Total Expenses by Category
📌 Formula:
excel
Copy
Edit
=SUMIF(B:B, “Groceries”, E:E) # Adds all expenses under “Groceries”
2️⃣ Track Your Remaining Balance
📌 Formula:
excel
Copy
Edit
=Initial Balance – SUM(E2:E100)
This helps you see how much money is left after expenses.
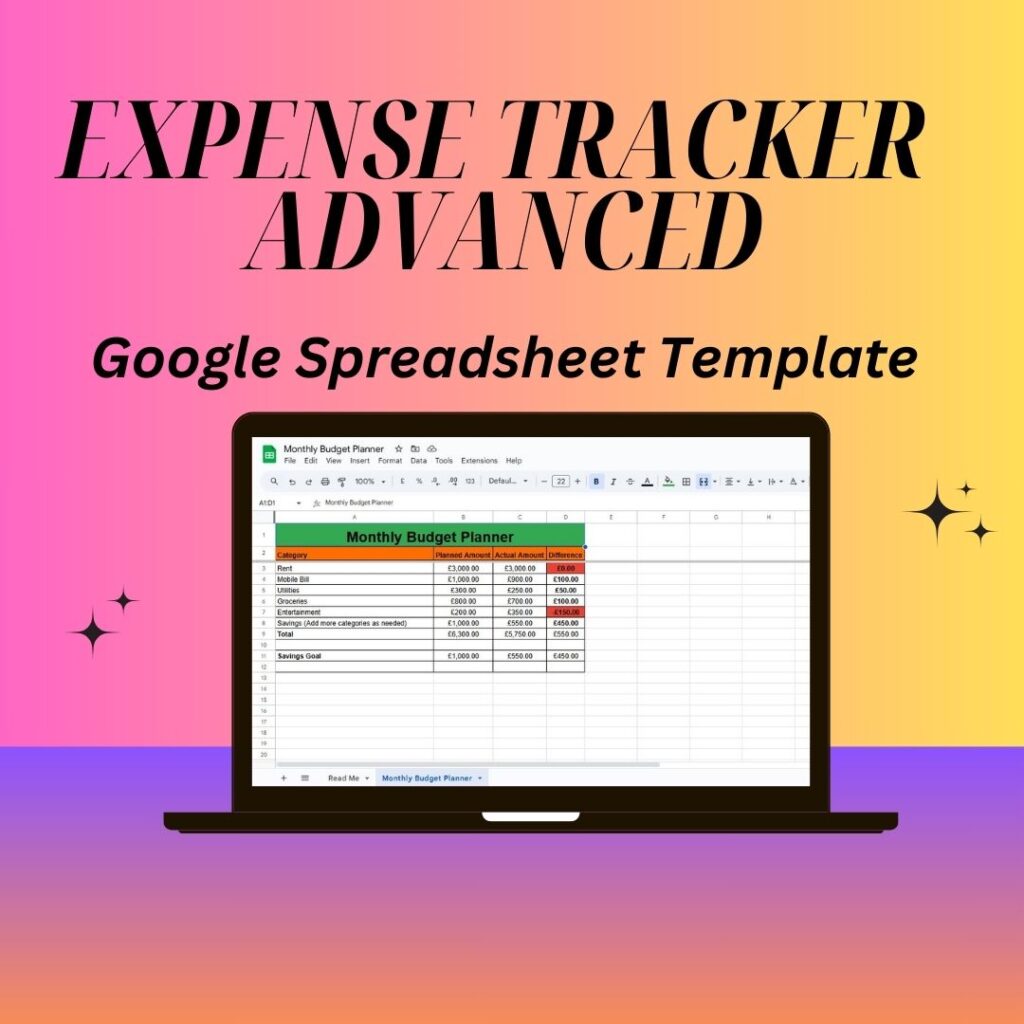
Step 5: Use Conditional Formatting to Highlight Overspending
Highlight spending trends by using Conditional Formatting in Excel.
📌 Steps to Set Up a Warning System for Overspending:
Select the “Amount Spent” column.
Set a limit (e.g., $500 for dining out).
Choose Red Fill to highlight when spending exceeds the limit.
💡 Pro Tip: This visually alerts you when you’re spending too much in a category.
Step 6: Visualize Expenses with Charts
Data is easier to understand when presented visually.
📌 How to Create an Expense Pie Chart in Excel:
Select your data (Expense Categories and Total Amount Spent).
Click Insert > Pie Chart.
Customize with labels and colors.
This allows you to quickly see where most of your money is going.
Step 7: Review and Adjust Your Budget Weekly or Monthly
Expense tracking is most effective when reviewed regularly.
✔ Weekly Review – Check if you are staying within your budget.
✔ Monthly Review – Adjust spending limits and set new financial goals.
💡 Pro Tip: Use Excel’s Pivot Table feature to analyze spending patterns in detail.
Step 8: Save a Backup of Your Expense Tracker Sheet
To avoid losing financial data:
✔ Regularly save your tracker in Google Drive or OneDrive.
✔ Keep a printed copy for reference.
Bonus: Download a Free Expense Tracker Template
To save time, use a pre-designed expense tracker template instead of creating one from scratch.
📥 [Download Your Free Expense Tracker Sheet Here] (Insert link)
Final Thoughts
Using an expense tracker sheet is a game-changer for financial management. Whether you’re looking to control spending, increase savings, or stick to a budget, an Excel or Google Sheets tracker simplifies the process.
✅ Key Takeaways:
✔ Choose a digital or printable expense tracker.
✔ Set up an organized spreadsheet with categories.
✔ Automate calculations using Excel formulas.
✔ Visualize spending with charts and conditional formatting.
✔ Regularly review and adjust your budget.
👉 Start using an expense tracker sheet today!